Global Settings
In Admin > Global Settings you can edit the global settings related to timezone, country, SMS and email options.
Timezone controls all the timestamps in the application, such as visit time and customer creation time.
Country controls which country is selected as the default in a portal template's phone number field (for details refer to the section on defining templates)
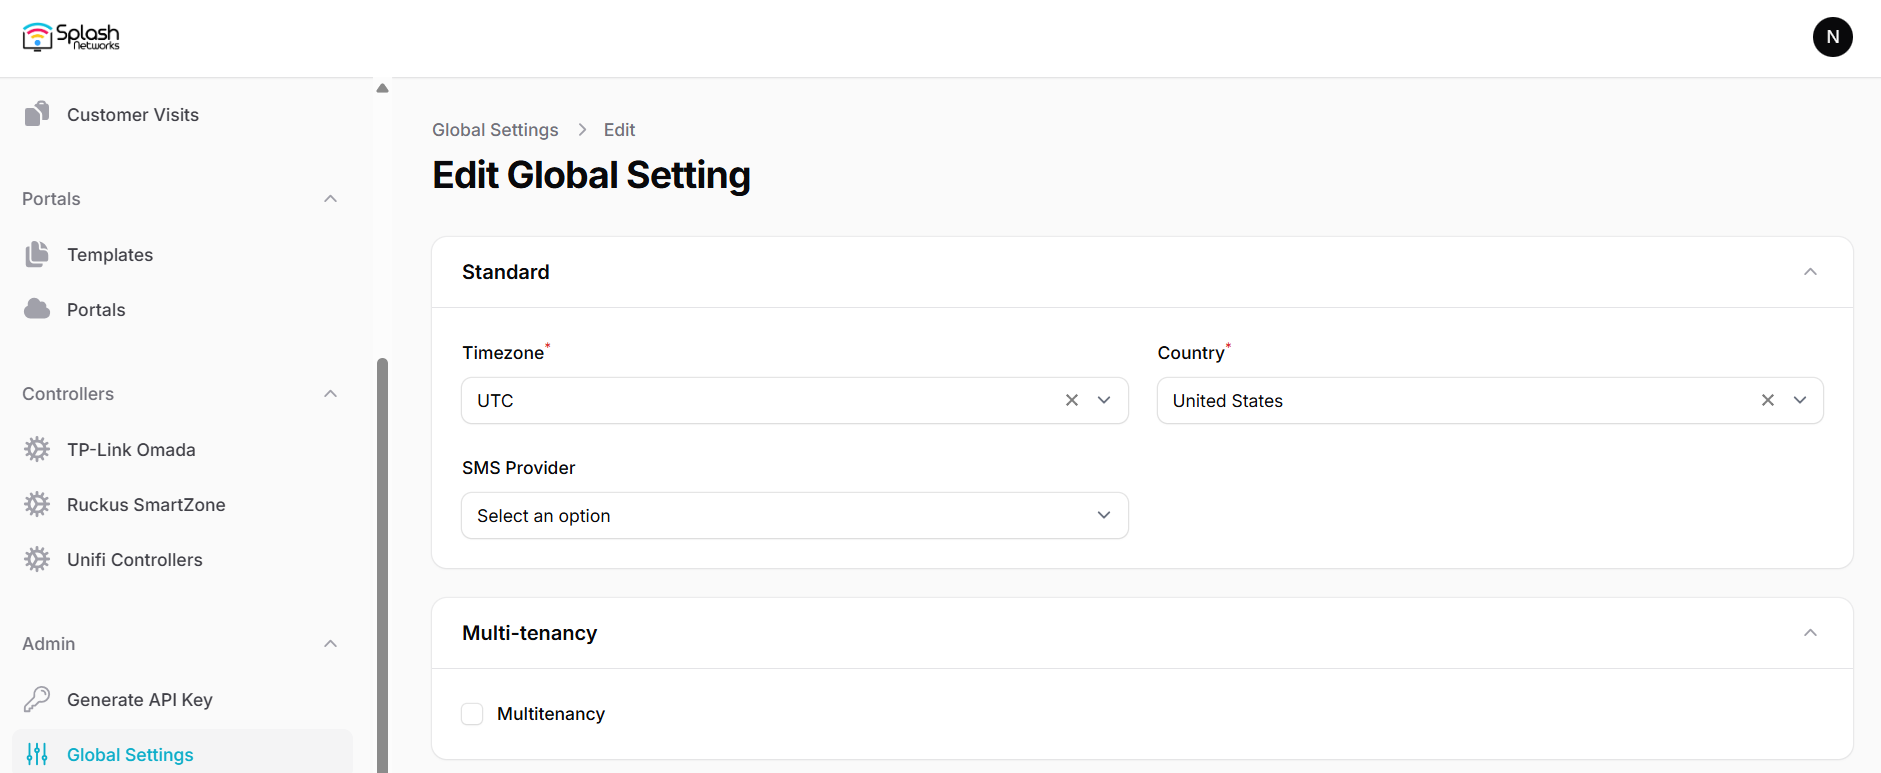
The SMS Provider field can be used to select the default SMS provider when using SMS OTP based user authorization. Currently supported SMS providers are Twilio, Unifonic and TextBee. Each provider has their own API parameters like Auth Token, SenderID etc that need to be added under that provider's settings. It is recommended to use the Test SMS button to send a test SMS to ensure SMS functionality is successfully integrated before using this feature in a captive portal.
If SMS OTP based verification is not used then this field is not relevant.
SMTP settings are required if these email based features need to be used:
- Venue reports
- Email OTP based user authorization
- Email link based user authorization
You can use SMTP settings from an email service provider such as Sendgrid. It is recommended to use the Test Email button to send a test email to ensure email functionality is successfully integrated before using this feature in a captive portal.
Multi-tenancy
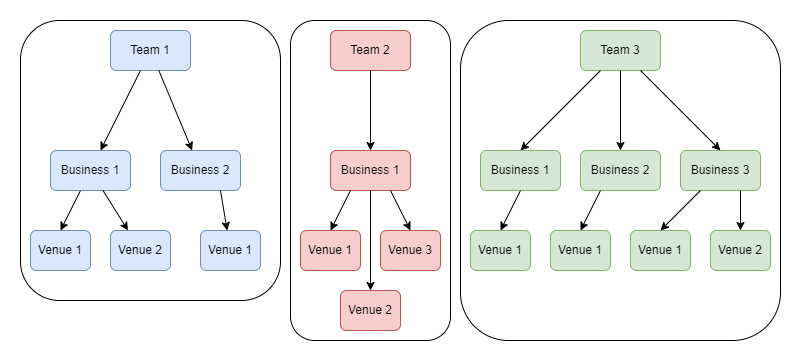
Multi-tenancy allows a single instance of Splash Air to serve multiple tenants. Each tenant will have an isolated view of the application. All the data of a tenant related to customers, visits, templates, portals etc. will not be visible to other tenants.
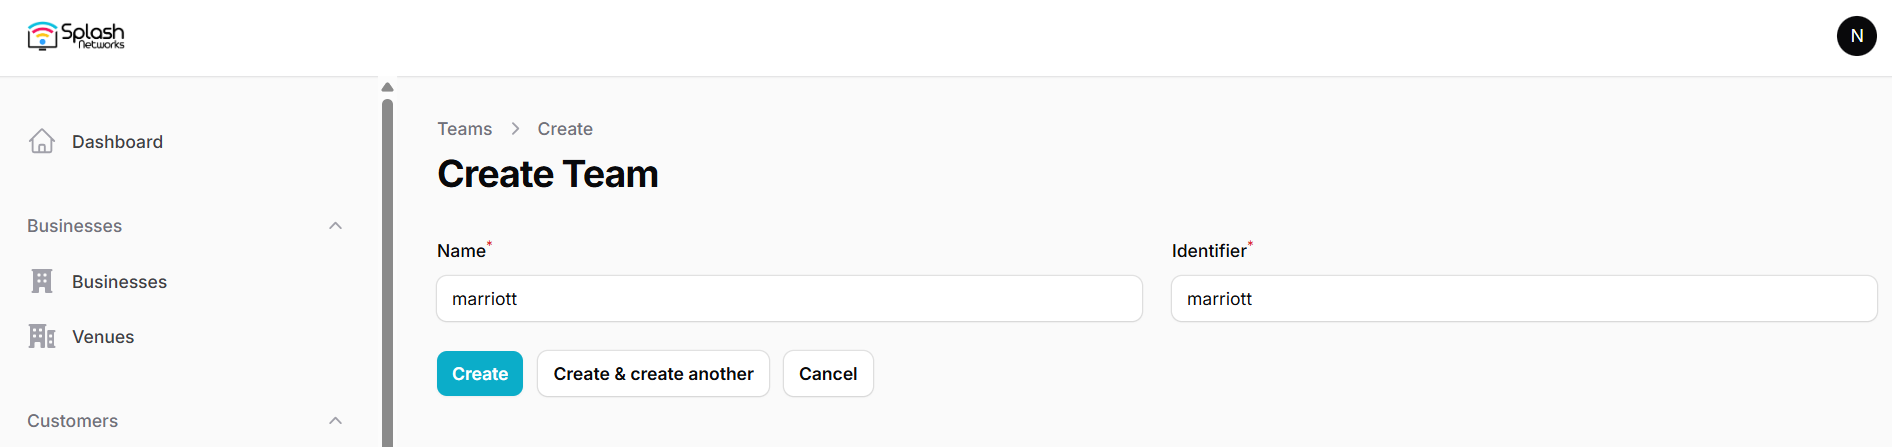
Each tenant is called a team. Each team can have one or more businesses, and each business can have one or more venues. Portals will be created on a per-venue basis.
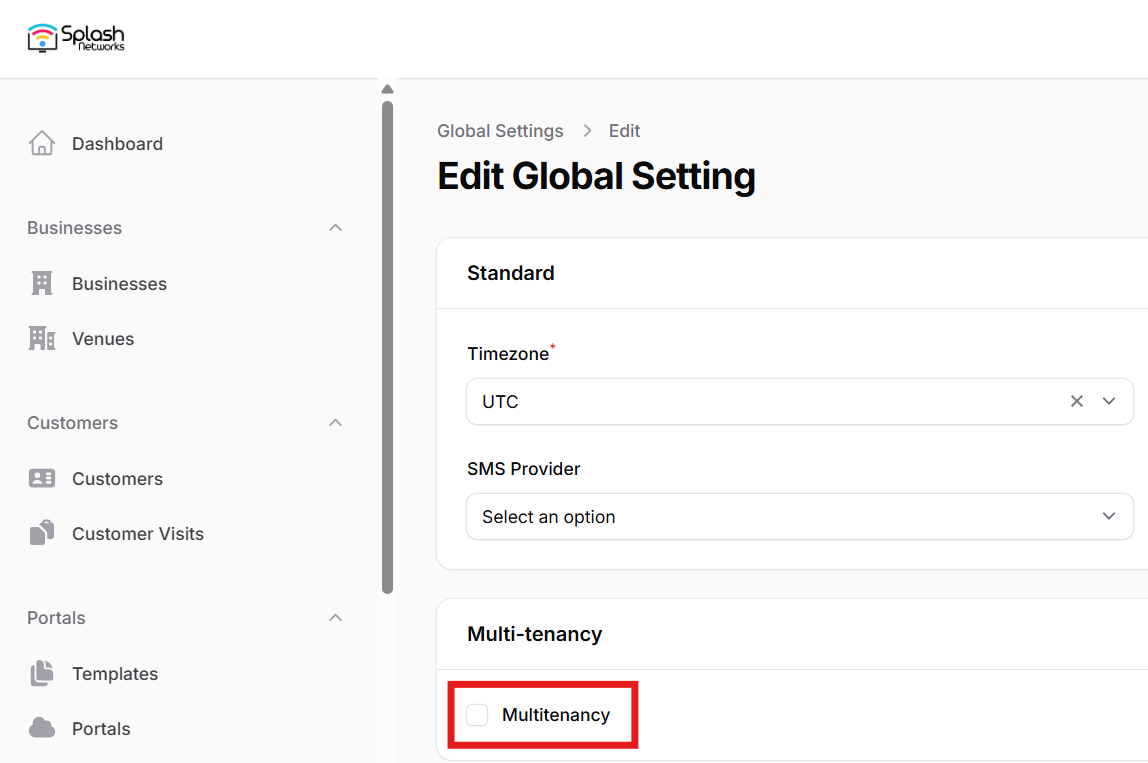
Multi-tenancy can be enabled by checking multitenancy option. Click on the Save changes button to apply the setting.
Once multi-tenancy has been enabled a Teams option will appear in the left sidebar. Accessing this option will allow you to create new teams. A root team called default is present from the start and cannot be removed.
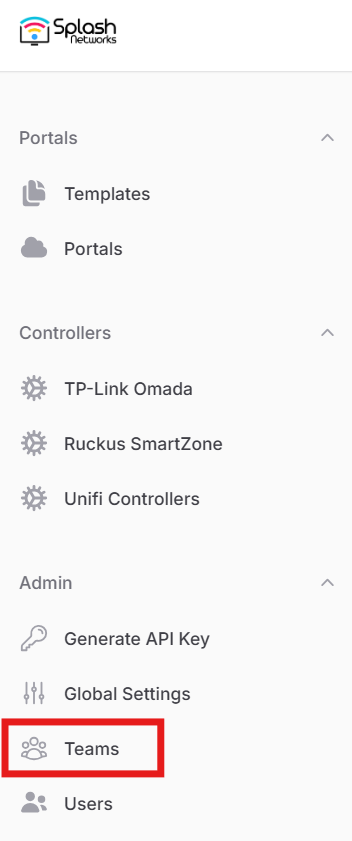
You can click on the New team button to create a new team.
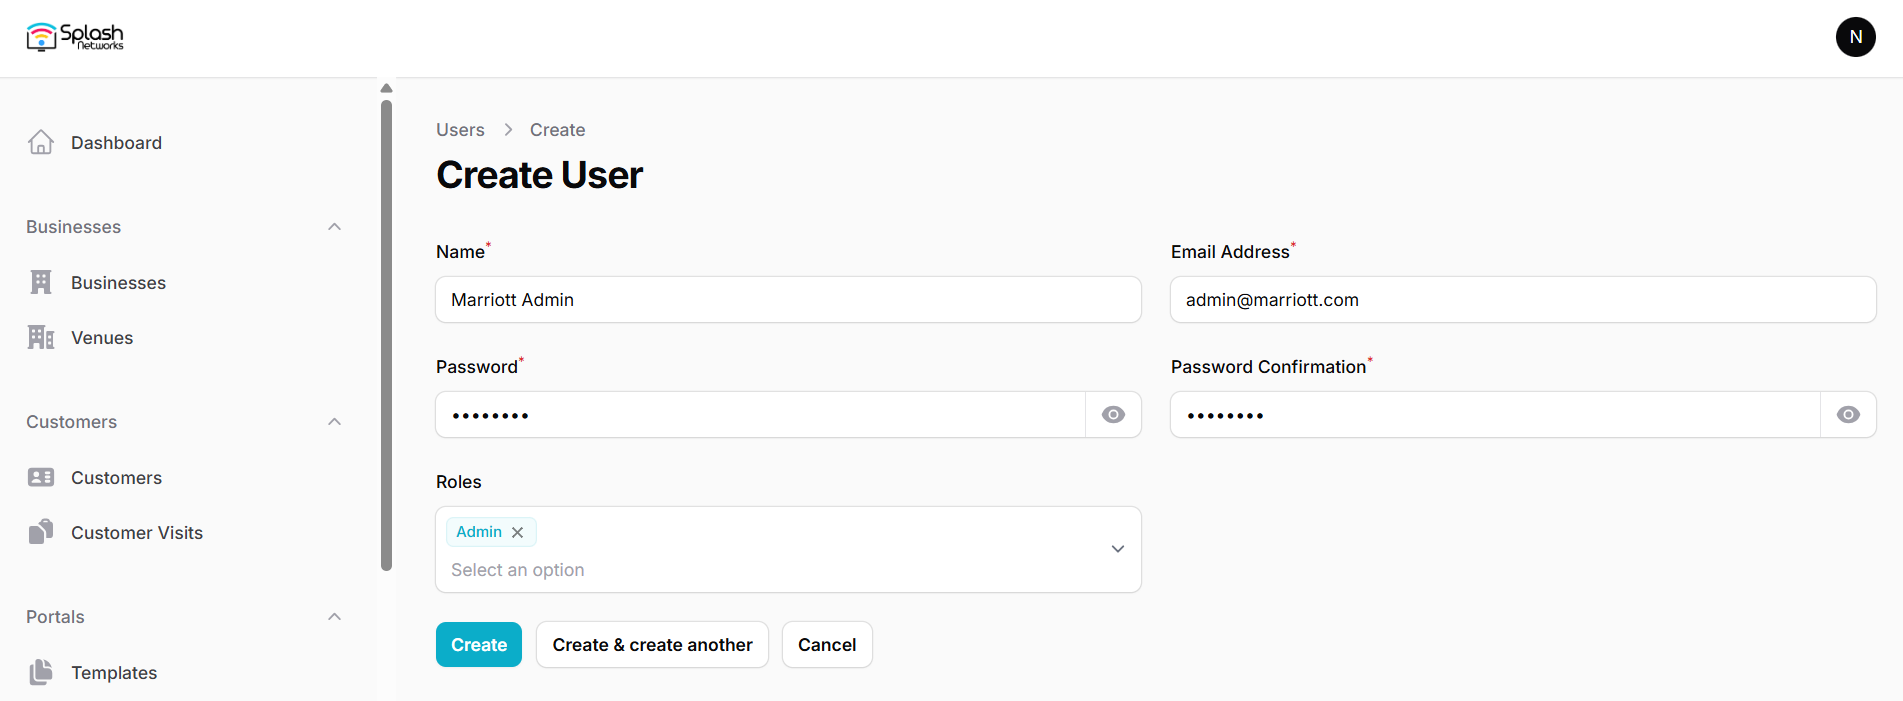
The next step is to go to Users and click on the New user button to create a user for this team.
User Roles
There are 3 roles:
- Super Admin: a global user that has full visibility of the application including the data of all teams, and can add/delete/update all data such as businesses, venues, templates, portals, customers and visits
- Admin: a team user that is a part of one or more teams
- Viewer: a global user that has read-only visibility of the application including the data of all teams, but cannot make any changes
For a tenant you should create a user with Admin role.
Once the user is created go back to team and click on the team to which this user should be added. Then, click on the Attach button and select the user in the Attach user modal.
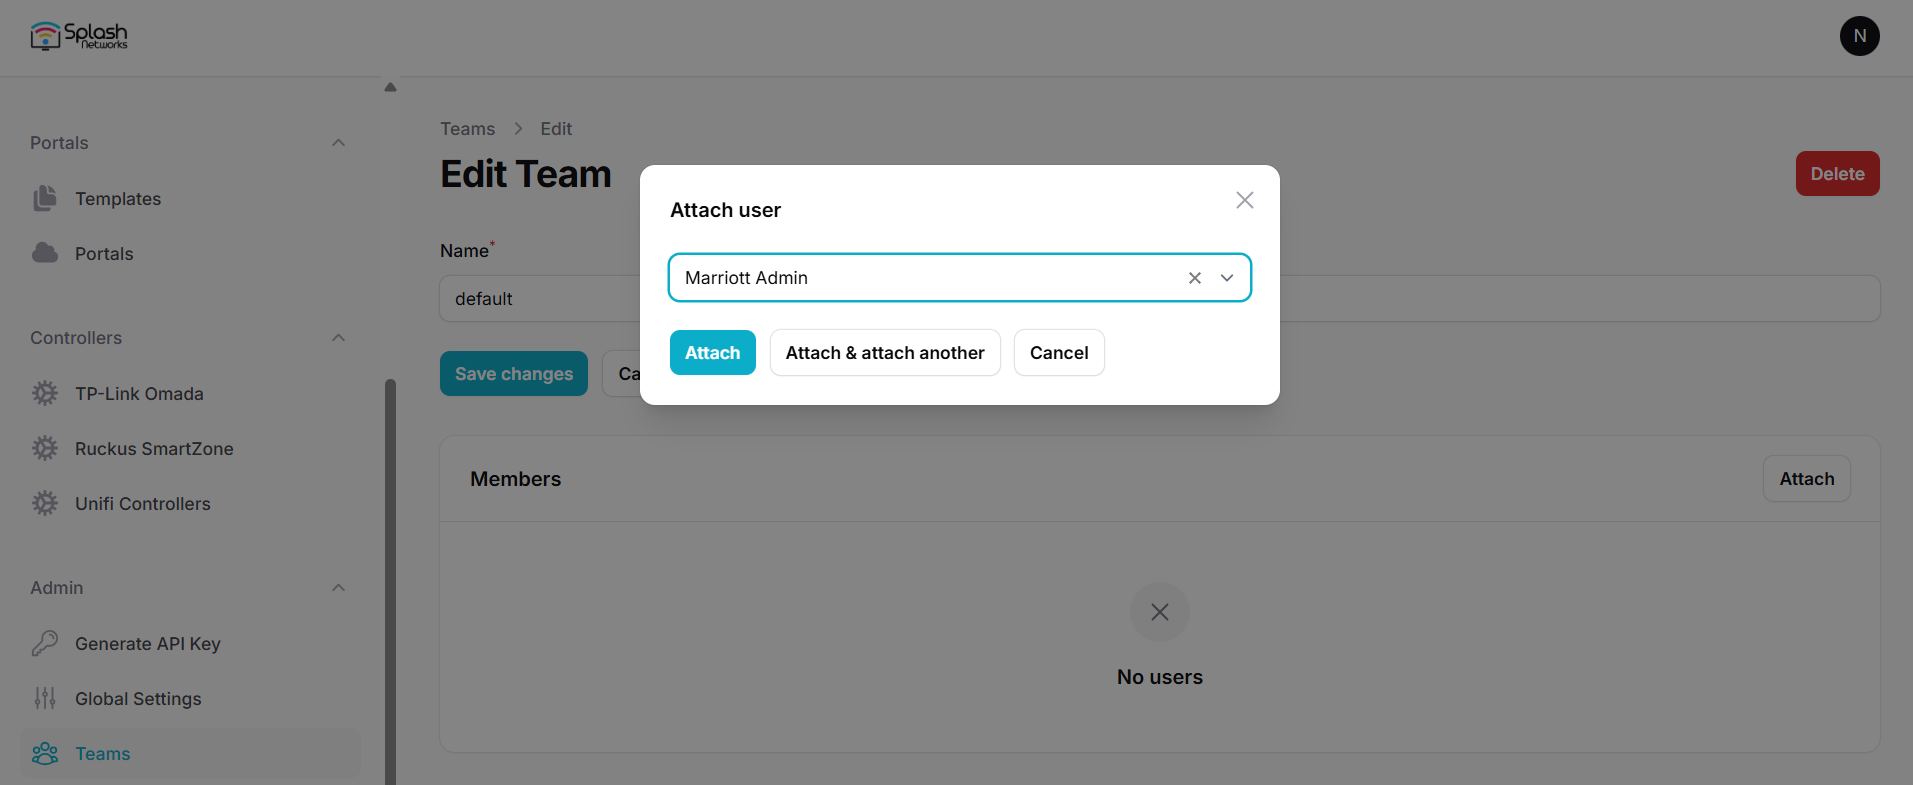
Click on the Attach button to bind this Admin account to the selected team/tenant.
Team Login
The Admin user belonging to any team will use the following URL to login to the application: https://<Application Hostname>/app
If the application URL is https://example.com, then the login URL for team users will be https://example.com/app. Only Super Admins and Viewers will be able to login using https://exmaple.com. Teams will have to use the /app path.
After login a team user will be able to perform all the operations of the application normally such as creating new businesses, venues, templates, and portals etc.
Payment Gateway
To use Payment Flow a payment gateway needs to be set up. Currently supported payment gateway is Stripe. Its API keys obtained from your Stripe account should be added to Global Settings in Stripe Payment section:
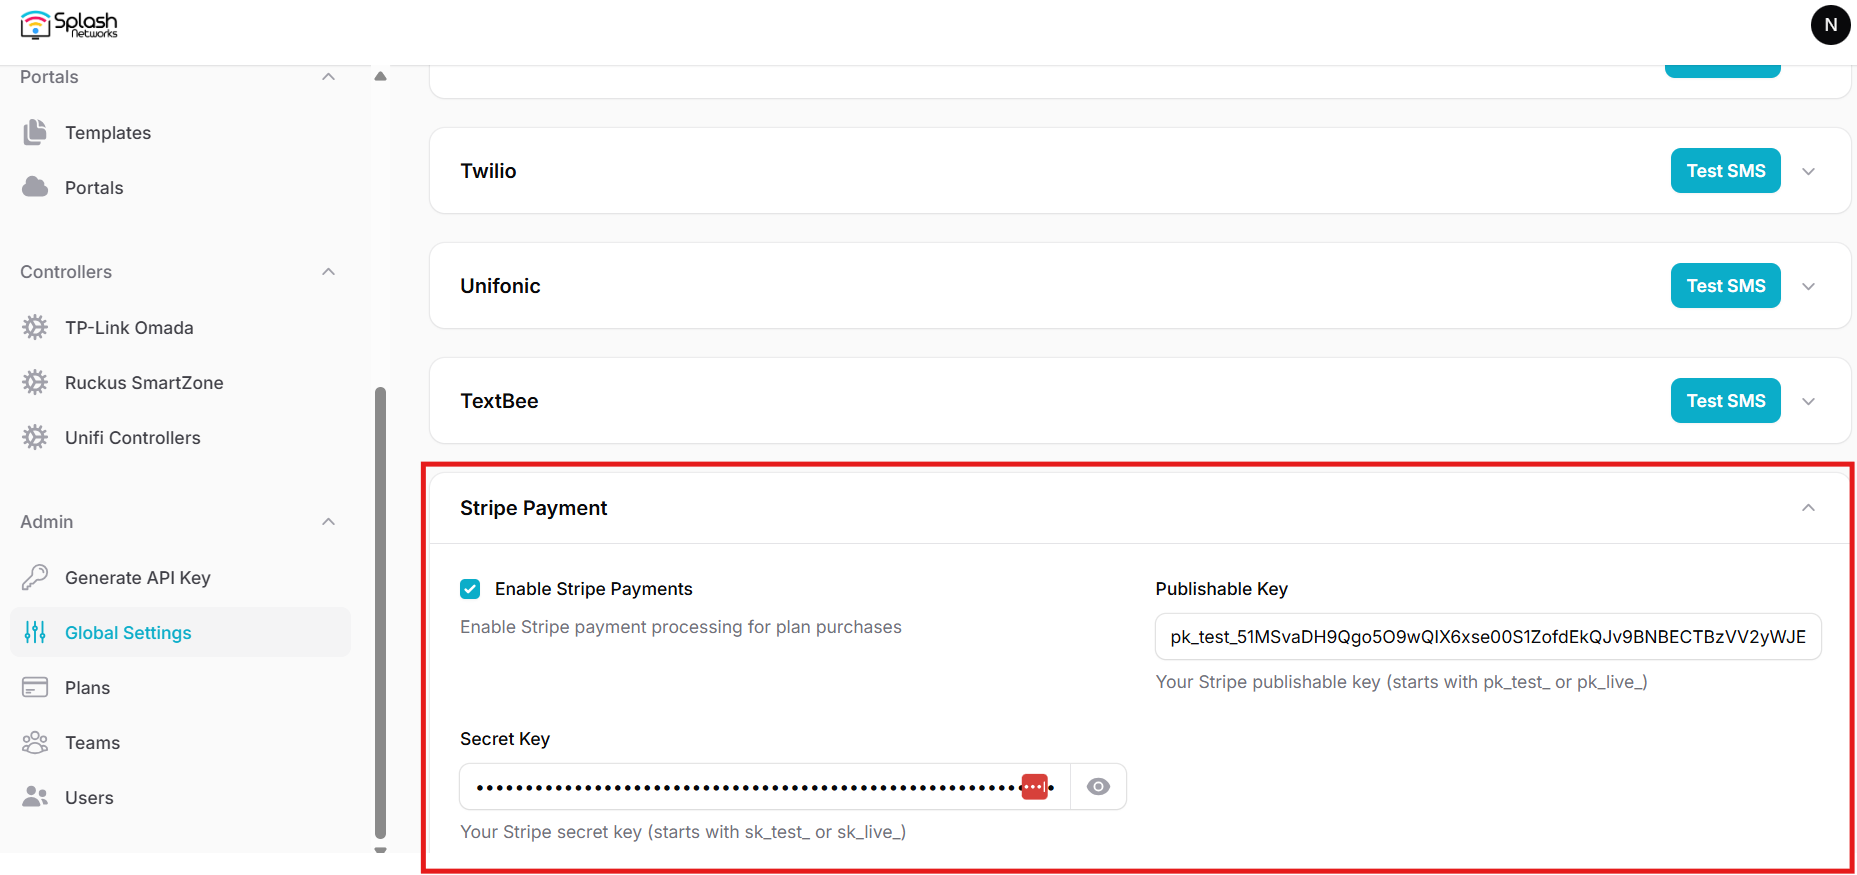
These walled garden entries for Stripe should also be added.
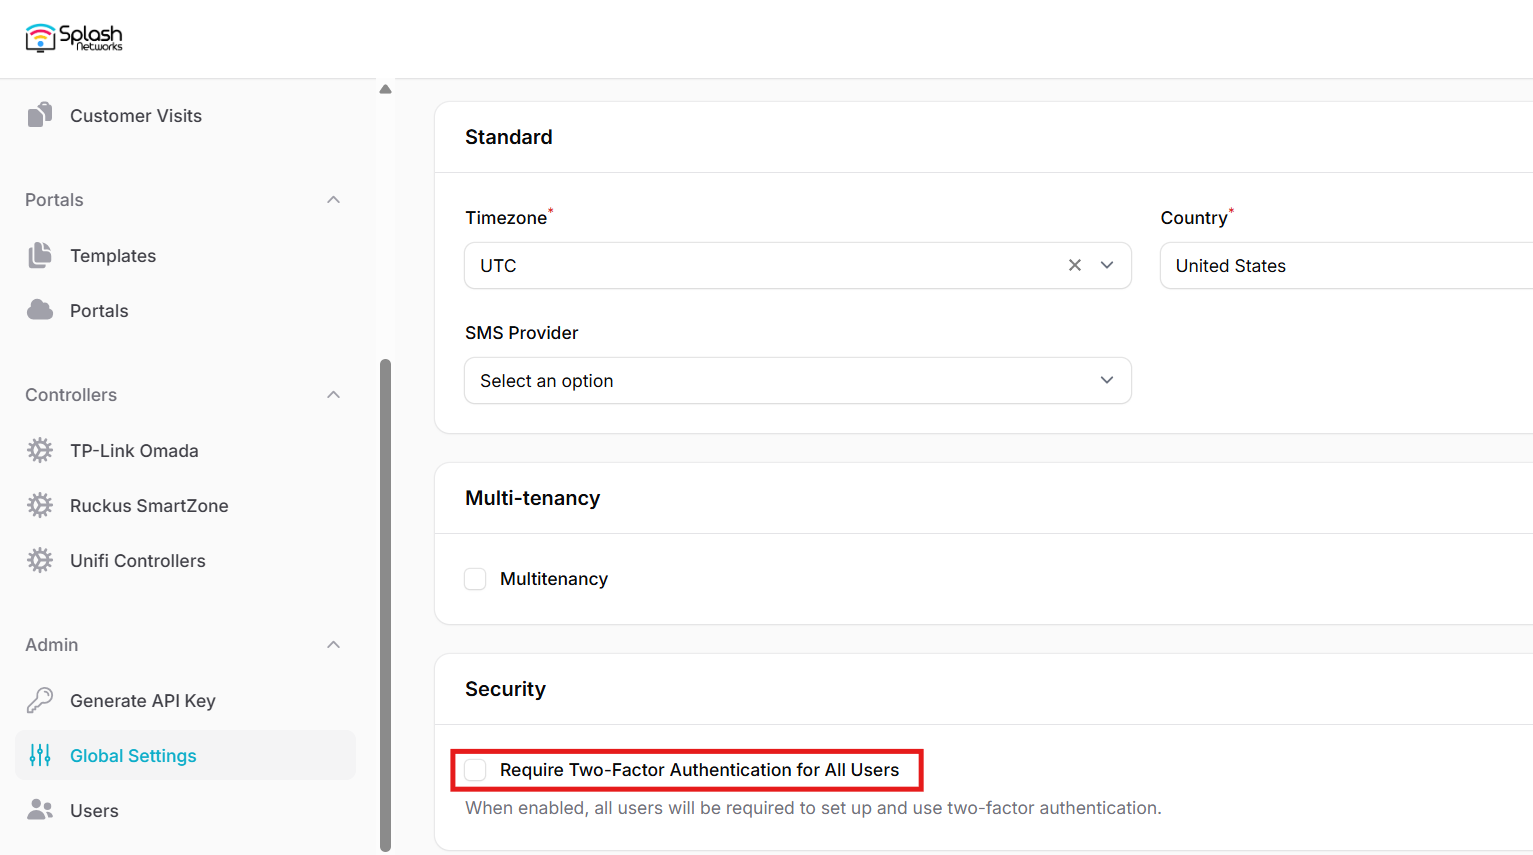
Two Factor Authentication
In Global Settings > Security you can enable this checkbox to force all users to use Two Factor Authentication.
To enable 2-factor authentication using Google Authenticator or a similar app go to a user's account properties by clicking on the user avatar icon on the top right.
![]()
In the Two Factor Authentication section click on the Enable button:
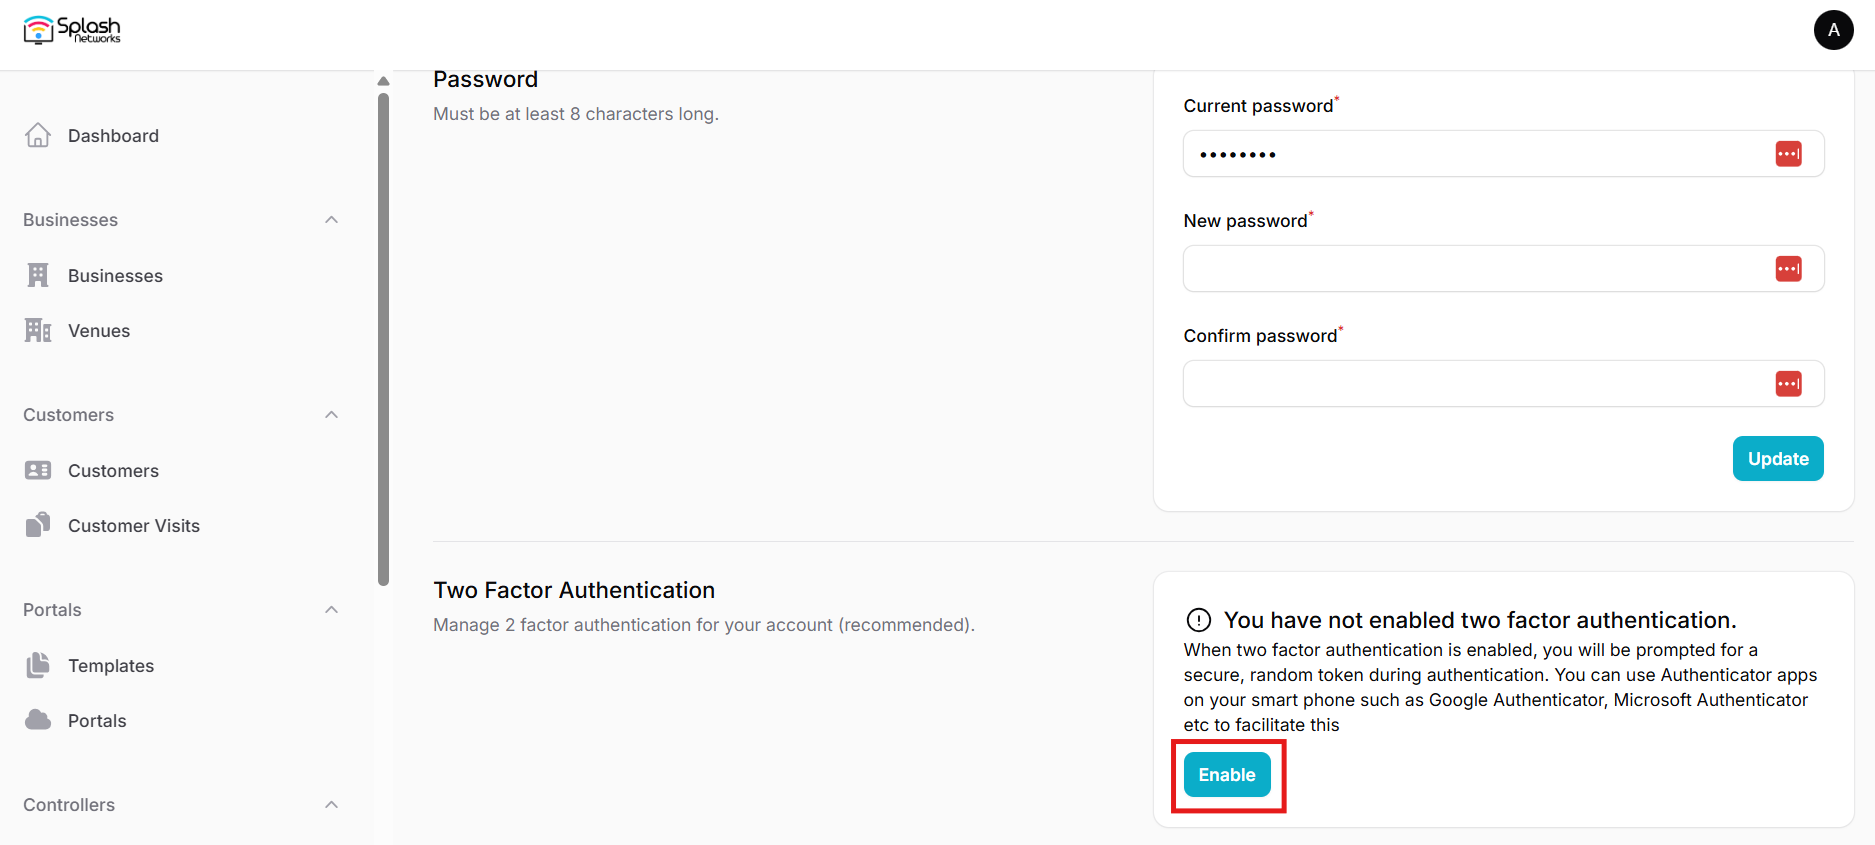
Then scan the provided 2FA code using an authenticator application on your phone.
Email Marketing
To upload customer records to your email marketing provider you can select your provider such as Mailchimp or Brevo from the Email Marketing Provider dropdown. Once selected, you'll need to enter your respective platform's API key below.
Then, go to the Venues tab and click the Venue for which you want to enable this feature. Then select the list/audience to which contacts should be uploaded.
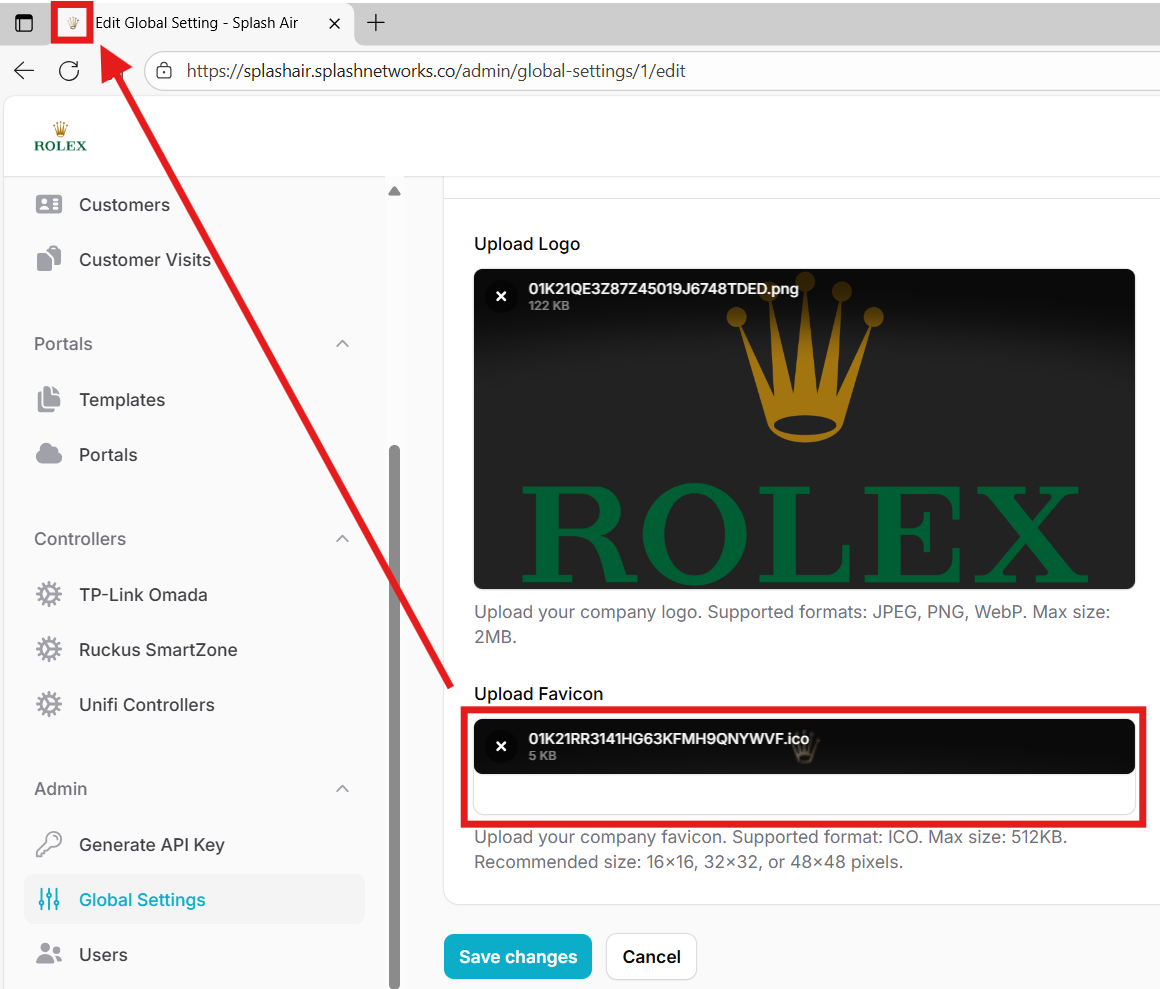
White Label
If you have obtained a white label license then you can implement that in Global Settings. You have the option of adding regular and dark mode logo. In the Logo Upload section you can upload your logo like this:
![]()
Your logo will be shown in the top left corner instead of the original Splash Networks logo. Similarly, it will also be shown as the default placeholder logo when you create a new template.
![]()
Similarly, you can add a favicon icon in Upload Favicon section. There are several online tools for creating a favicon icon file from a PNG or JPG file, such as favicomatic.