Installation
The Splash Air application can be hosted on a cloud Virtual Private Server (VPS) or an on-prem virtual machine (VM). These are the recommended specifications:
- OS: Ubuntu 24 LTS
- RAM: 2 GB
- Storage: 30 GB
A DNS hostname (A record) pointing to the public IP address of your VM/VPS will be required. This will be used to generate a TLS certificate for the Splash Air application. It is a mandatory requirement; without it Wi-Fi captive portals display a certificate warning which affects user experience.
The following ports need to be open for the application to function correctly:
- TCP port 80 and 443 (for Splash Air application and TLS certificate generation)
- UDP port 1812 and 1813 (for RADIUS)
Installation Script
The installation can be done using a script. Your DNS hostname needs to be passed as a parameter to the script. Suppose your DNS hostname is your-hostname.com then you can run this one-liner command to download and execute the script (replace your-hostname.com with your actual DNS hostname):
curl -fsSL https://get.splashnetworks.co | bash -s -- your-hostname.com
The script uses Docker and sets up a Docker Compose based environment, so make sure your VM/VPS supports Docker.
Caveats
It's possible that you may be using a non-standard environment, such as the following scenarios:
- You want to run the application on a port other than TCP 443
- The machine is behind NAT/CG-NAT
- The machine's public IP does not correspond to its hostname, rather you're using an alternate/private IP for it
In such cases the script given above may not work correctly. Reach out to support@splashnetworks.co and explain your scenario, and you'll be guided accordingly.
Default Credentials
After the installation is complete you'll be able to access your Splash Air application instance via browser.
The default login credentials are given below:
Username: admin@splashnetworks.co
Password: password
It is recommended to change these upon first login.
License
Go to https://your-hostname.com/license page and enter the license key you received via email:
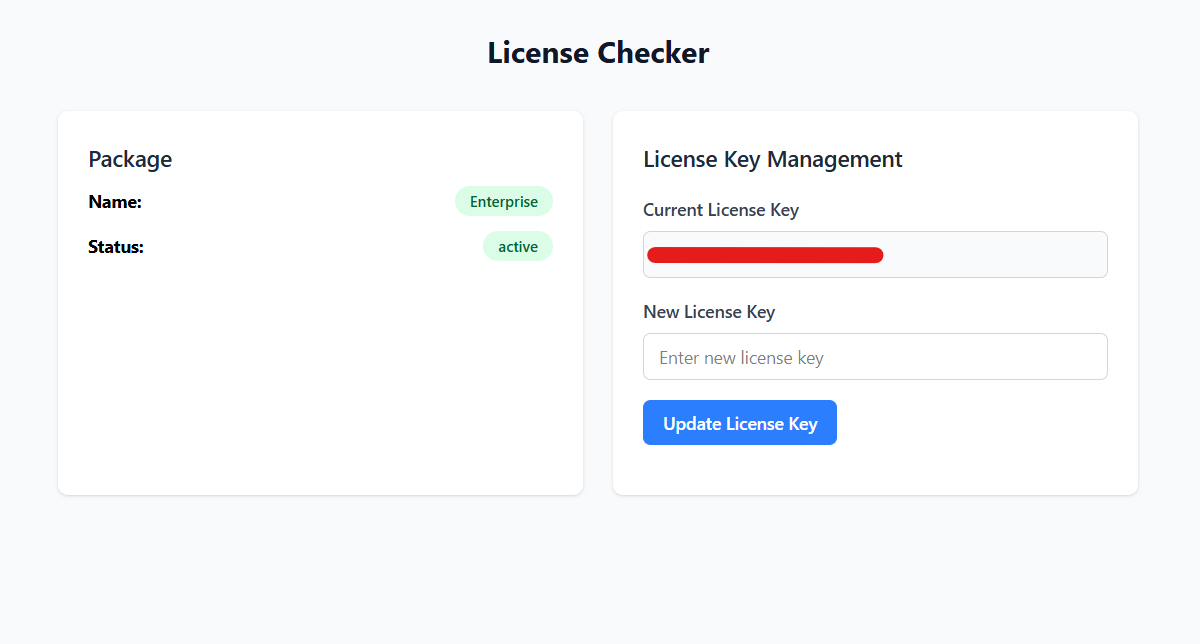
Upon successful license activation it should show your package name and the status should be active. Without a valid license you will not be able to set up a portal.